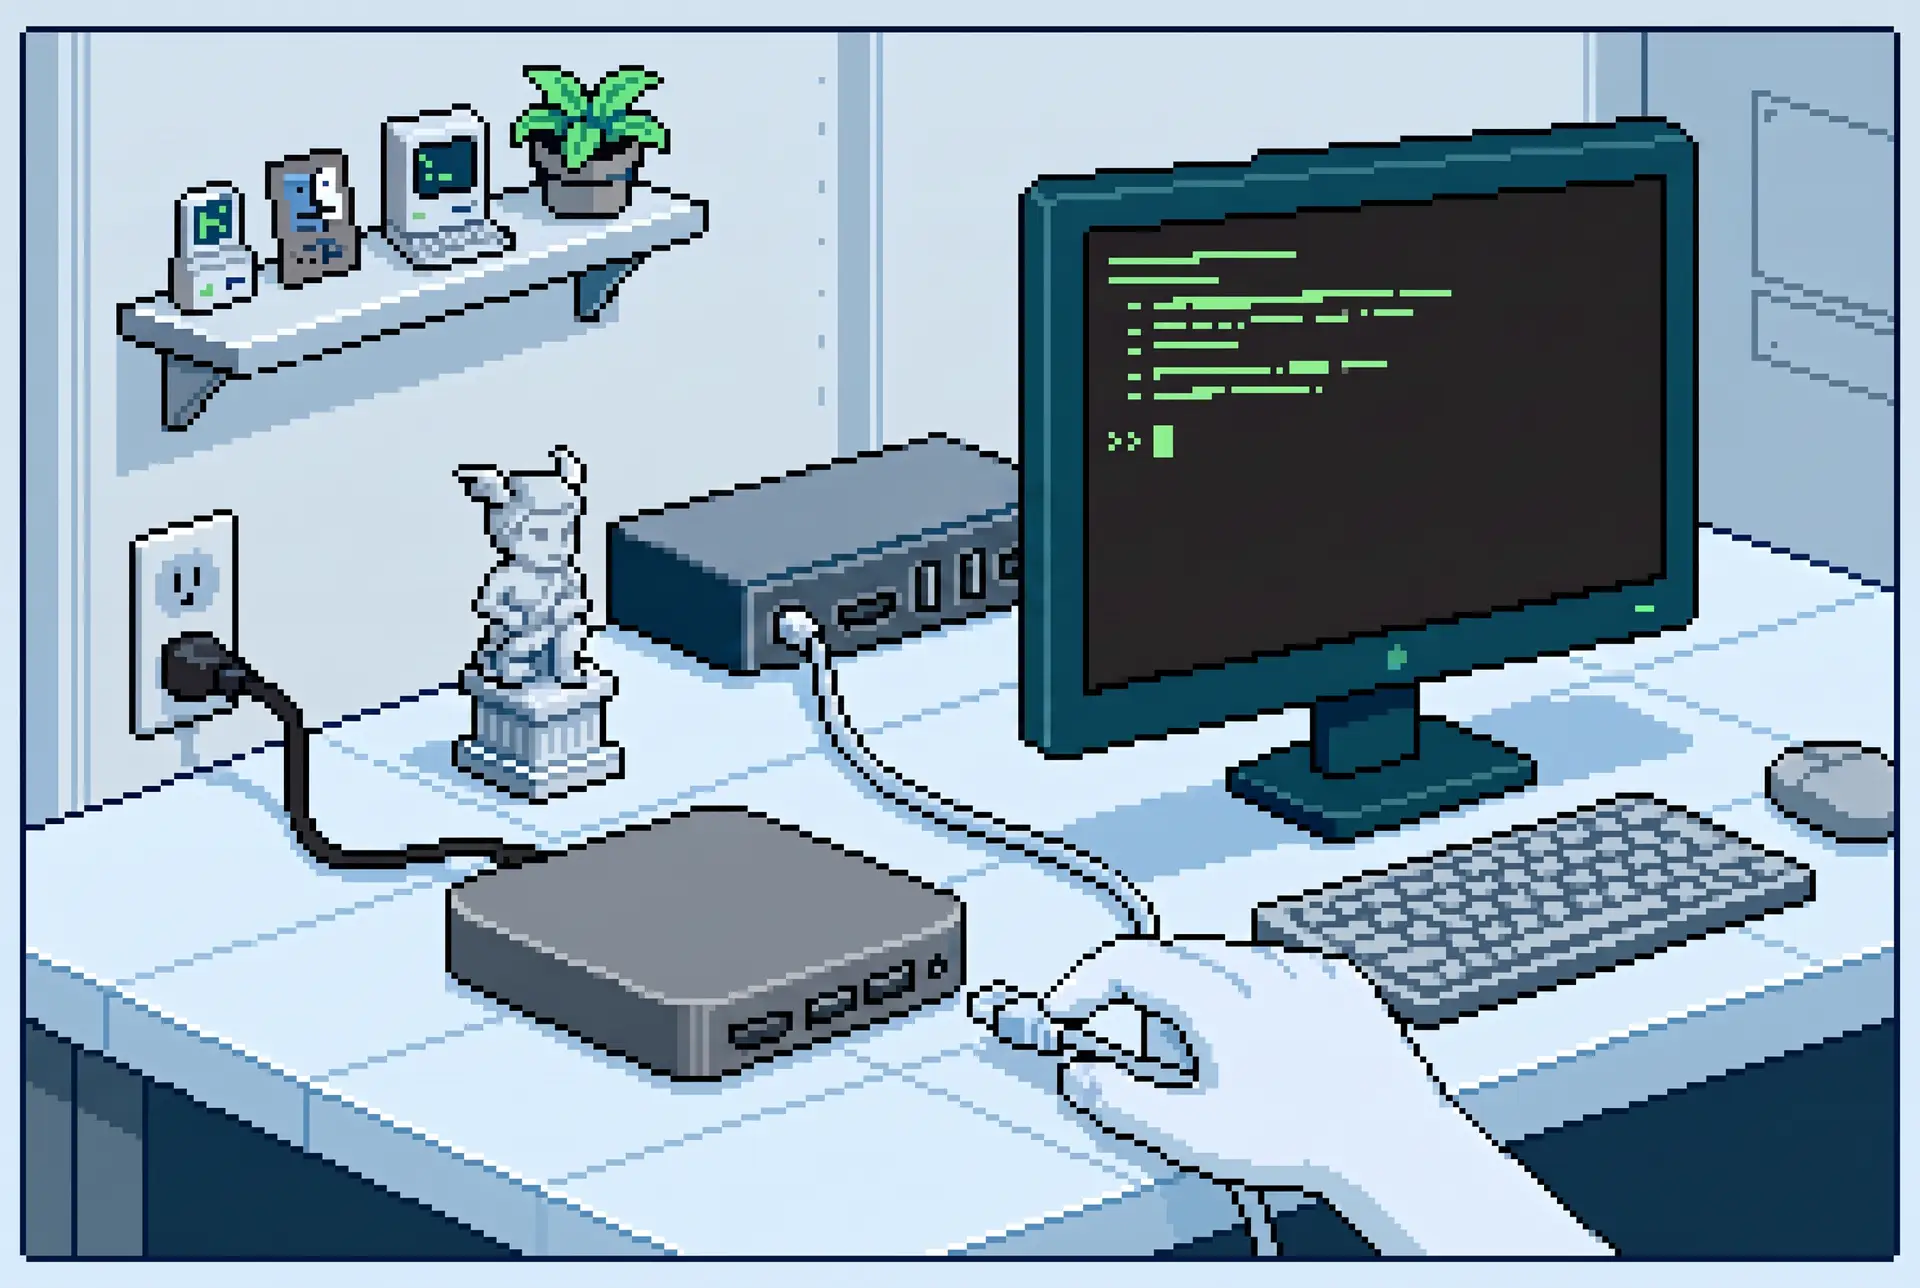
I have a Mac mini sitting in a corner of my home office with nothing plugged in but power and a network cable. It runs a private AI agent around the clock. I can message it from Telegram anywhere in the world, it costs nothing per request, and my data never leaves the house.
I’m about to show you how to build the same thing.
This is a complete beginner’s guide to setting up a headless Hermes Agent, from unboxing to Telegram. But the foundation works for any agent that needs an always-on service—Claude Dispatch, OpenClaw, or whatever you’re running. Once the box is set up, getting your agent of choice running on it is the easy part.
No terminal experience is required, every command is copy-paste, and there’s a model recommendation for every Mac mini configuration.
What You Need to Build Your Headless Hermes Agent
A headless Hermes Agent setup means the Mac mini runs with no monitor, keyboard, or mouse attached. You control it remotely from your everyday computer instead, and once it’s running, you never have to touch it again.
What you need before starting
- A Mac mini (or Mac Studio; identical steps) with Apple Silicon. Any memory size from 16GB works; this guide recommends a model for each size in section 6.
- A monitor or TV, a keyboard, and a mouse, borrowed temporarily. You only need them for the initial setup, then you unplug them for good.
- Your everyday computer (Mac or Windows laptop/desktop). This guide calls it your controller.
- An HDMI dummy plug (a tiny adapter that tricks the Mac into thinking a monitor is attached, which keeps remote screen viewing working). About $10: https://amzn.to/44kJktw
- A Telegram account on your phone (free, from the App Store or Play Store).
The names used in this guide
To keep every command copy-pasteable, this guide uses fixed names. Use these exact names, and everything works as written. Prefer different names? Fine, just substitute yours everywhere these appear:
- Bot account name:
agent— the macOS user account the AI runs in. Its home folder is/Users/agent. - Your admin account: whatever name you choose at first boot. The guide calls it “your admin account.”
- The model:
qwen3.6:35b-a3bin examples. If section 6 points you to a different model for your memory size, swap that name in.
How to read the commands in this guide
Anything in a gray box is a command. You’ll paste these into Terminal, the Mac’s built-in text control panel. To open Terminal on any Mac: press Command (⌘) + Space, type terminal, press Return. Paste a command with ⌘V, then press Return to run it. Multi-line gray blocks can be pasted all at once.
Lines starting with #: Those are comments explaining the command. They’re safe to paste along with everything else; the computer ignores them.
Set Your Expectations First (Please Read This)
If your mental benchmark is Claude or ChatGPT, a local model will surprise you, and it’s better to be surprised now than three hours in.
It’s not snappy
A request through Telegram can take 30 seconds, a couple of minutes, and sometimes 5 to 10 minutes to respond reliably. That is normal, not broken. A properly tuned setup (which is exactly what we’re building) lands most simple exchanges in the seconds range, but it will never feel like a cloud model.
The right mental model: Think of your local agent as a capable assistant working in another room, not an instant chat window. Send it a task, go do something else, and come back. That’s exactly why Telegram is the perfect interface for it.
It’s not as smart
Local models lose the thread more easily, make more assumptions, and pick the wrong approach when a task is ambiguous. You’ll compensate with explicit, detailed instructions and by expecting real trial and error. Once a workflow is tuned, it repeats reliably, but the first pass rarely just works.
So, why do it?
Zero cost per request. Total privacy. Runs 24/7 on hardware you own. And honestly, it’s a great way to learn how this technology actually works. Go in expecting to tinker, and you’ll enjoy it.
Physically Set Up the Mac Mini
1. Plug everything in
- Place the Mac mini somewhere with airflow, near your router if possible.
- Connect it to your router with an Ethernet cable (wired internet is far more reliable than Wi-Fi for an always-on machine). If your router is short on ports, a small network switch solves it; the one I use: https://amzn.to/4vYsBYK
- Connect the monitor via HDMI, and the keyboard and mouse (USB or Bluetooth).
- Connect power and press the power button.
2. Walk through macOS first-boot setup
The Mac guides you through language, region, and network. Two choices matter:
- When asked to create a computer account, this becomes your admin account. Use your own name and a password you’ll remember; you’ll type it often.
- Sign in with your Apple Account if you want (optional for this build), and decline anything you don’t need.
- Once you reach the desktop, open System Settings > General > Software Update and install any updates now, so they don’t interrupt you later.
3. Turn Wi-Fi off
- Open System Settings > Wi-Fi and toggle Wi-Fi off.
You’re wired now. Turning Wi-Fi off stops the Mac from silently hopping to a flakier connection and keeps its address on your network predictable.
Create the Bot Account
The AI runs in its own, limited macOS account so it can never touch your personal files. We’ll name it agent.
1. Create the account
- In System Settings, click Users & Groups in the left sidebar.
- Click Add User… (you’ll be asked for your admin password).
- Set New User to Standard. Not Administrator. This is the security boundary.
- Full Name:
agent. Account Name:agent(macOS fills this in; make sure it’s exactlyagent, lowercase, because it becomes the home folder name/Users/agentused in every command below). - Give it a password you’ll remember. You’ll type this when connecting remotely.
- Click Create User.
2. Turn on remote access
- Still in System Settings, go to General > Sharing.
- Turn ON
Remote Login. Click the little (i) next to it and allow access for All users (or at least the agent account). Remote Login is SSH, your lifeline to a headless machine. - Turn ON
Screen Sharing(or Remote Management if you plan to buy Apple Remote Desktop later). This lets you see the Mac’s screen from your controller.
Checkpoint: Both Remote Login and Screen Sharing show as on. If you skip this and unplug the monitor later, you will be locked out and have to plug everything back in.
Install the Foundation Software (From Your Admin Account)
Stay logged in as your admin account for this whole section. We’ll install Homebrew (a free installer for Mac software), then Ollama and Tailscale through it.
1. Install Homebrew
- Open Terminal (⌘ + Space, type
terminal, Return). - Paste this entire line and press Return:
/bin/bash -c "$(curl -fsSL https://raw.githubusercontent.com/Homebrew/install/HEAD/install.sh)"
- It asks for your admin password (typing shows nothing on screen; that’s normal), then asks you to press Return to continue. Let it run; a few minutes.
- When it finishes, it prints a short “Next steps” section telling you to run two or three lines (they start with
echoandeval). Copy and run exactly what your Terminal shows; they add Homebrew to your command path. - Verify:
brew --version
You should see a version number like Homebrew 4.x. If Terminal says “command not found,” redo the “Next steps” lines.
2. Install Ollama and Tailscale
brew install ollama tailscale
Tip: skip the Mac apps for both of these: Ollama and Tailscale also come as regular Mac apps, and most tutorials point you there. For a headless server, both apps are the wrong tool: they tie themselves to a logged-in user session, and Ollama’s app silently overrides your settings. The command-line versions you just installed are the ones that work unattended. If either app is already on this Mac, drag it from /Applications to the Trash and remove it from System Settings > General > Login Items before continuing.
3. Connect Tailscale
Tailscale creates a free, private network between your devices, so you can reach the Mac mini from anywhere without exposing anything to the internet.
- Run:
sudo tailscale up
- Terminal asks for your admin password. (
sudomeans “run as the system,” which is what keeps the connection alive when nobody is logged in.) - It prints a web link. Open that link on any device, sign in (Google, Apple, or email; this creates your free Tailscale account), and approve the machine.
- Back in Terminal, get your Mac mini’s permanent private address:
tailscale ip -4
It prints an address like 100.94.13.117. Write this down. The guide calls it YOUR-TAILSCALE-IP; substitute your real one wherever you see it.
Set Up Your Controller (Your Everyday Computer)
1. Install Tailscale on the controller
- On your everyday Mac or Windows machine, download the normal Tailscale app from https://tailscale.com/download and install it. (The regular app is correct here; the no-app rule was only for the headless Mac mini.)
- Open it and sign in with the same account you created in step 4.3.
2. Confirm the two machines can see each other
- Open a terminal on the controller. Mac: Terminal, as before. Windows: press Start, type
powershell, press Enter. - Run (with your real IP):
ping YOUR-TAILSCALE-IP
Replies mean the private network works. Press Ctrl+C to stop. If it times out, make sure Tailscale is running and signed in on BOTH machines.
3. Learn the one remote-control command
SSH opens a text session on the Mac mini from your controller, as if you were typing on it directly. From the controller’s terminal:
ssh agent@YOUR-TAILSCALE-IP
- The first time, it asks “Are you sure you want to continue connecting?” Type
yes, press Return. - Enter the agent account’s password (from step 3.1). Typing shows nothing; that’s normal.
- Your prompt changes to something like
agent@Mac-mini ~ %. You are now typing on the Mac mini, as the agent user. (Typeexitwhenever you want to leave.)
Checkpoint: You can SSH in from the controller and see the agent@ prompt. From here on, every command in this guide runs in that SSH session (on the Mac mini, as agent) unless it says otherwise. Not sure where you are? Run whoami — it should print agent.
Choose Your Model: A Recommendation for Every Mac mini
This is the most consequential choice in the build, and the right answer is not “the smallest model.” On Apple Silicon, model architecture matters more than size.
The 60-second version of why
A traditional (“dense”) model reads ALL of its parameters for every word it generates, so speed is limited by how fast memory can feed the chip. Mixture-of-Experts (“MoE”) models activate only a small slice per word, so a 35-billion-parameter MoE generates about as fast as a 3-billion-parameter model while being far smarter. On my machine, moving to a properly configured MoE took the same question from 296 seconds to under 6.
One hard rule: Hermes requires a 64,000-token context window (the model’s working memory). Context costs RAM on top of the model file itself, and every recommendation below accounts for that.
Pick your tier
16GB Mac mini: gpt-oss:20b — the community-consensus small MoE for 16GB machines. Be honest with yourself at this tier: the 64K requirement is tight and heavier workflows will strain it. Great for learning; if you’re buying hardware specifically for this project, buy 32GB.
32GB Mac mini: qwen3.6:35b-a3b — yes, a 35B model on 32GB, because MoE plus the memory-saving settings we configure in section 7 make it fit. Widely considered the best all-round local model most people can run.
64GB Mac mini (what I run): qwen3.6:35b-a3b with comfortable headroom. On my M4 Pro: fully on GPU, 64K context, warm responses in 5-6 seconds. The sweet spot for a serious Hermes box.
128GB (Mac Studio territory): qwen3-coder-next — an 80B MoE built specifically for agent work and tool calling. Same speed class as the 35B (both activate ~3B per word), with much more knowledge behind each answer.
Write down your model name: Wherever this guide shows qwen3.6:35b-a3b in a command, substitute your tier’s model if different. Everything else stays identical.
Set Up Ollama as an Always-On Service
Ollama is the engine that runs your model. We’ll set it up as a background service: it starts when the Mac boots, keeps your model loaded and ready (“warm”), and restarts itself if it crashes. Nobody needs to be logged in at a screen.
Do this whole section in your SSH session as agent (step 5.3).
1. Create the service
Paste this entire block at once and press Return. It creates the service definition with all the right settings baked in, then starts it:
cat > ~/Library/LaunchAgents/com.hermes.ollama-serve.plist << 'PLISTEOF'
<?xml version="1.0" encoding="UTF-8"?>
<!DOCTYPE plist PUBLIC "-//Apple//DTD PLIST 1.0//EN"
 "http://www.apple.com/DTDs/PropertyList-1.0.dtd">
<plist version="1.0">
<dict>
  <key>Label</key>
  <string>com.hermes.ollama-serve</string>
  <key>ProgramArguments</key>
  <array>
    <string>/opt/homebrew/opt/ollama/bin/ollama</string>
    <string>serve</string>
  </array>
  <key>EnvironmentVariables</key>
  <dict>
    <key>OLLAMA_KEEP_ALIVE</key><string>-1</string>
    <key>OLLAMA_MAX_LOADED_MODELS</key><string>1</string>
    <key>OLLAMA_CONTEXT_LENGTH</key><string>65536</string>
    <key>OLLAMA_FLASH_ATTENTION</key><string>1</string>
    <key>OLLAMA_KV_CACHE_TYPE</key><string>q8_0</string>
    <key>HOME</key><string>/Users/agent</string>
  </dict>
  <key>RunAtLoad</key><true/>
  <key>KeepAlive</key><true/>
  <key>StandardOutPath</key><string>/tmp/ollama-serve.log</string>
  <key>StandardErrorPath</key><string>/tmp/ollama-serve.err</string>
</dict>
</plist>
PLISTEOF

launchctl load ~/Library/LaunchAgents/com.hermes.ollama-serve.plist
In plain English, the settings say: keep the model loaded forever (KEEP_ALIVE -1), run one model at a time, use exactly the 64K context Hermes needs (CONTEXT_LENGTH 65536, the setting that prevents the “every request takes 5 minutes” disaster), and turn on two memory savers (FLASH_ATTENTION, KV_CACHE_TYPE q8_0) that make the 64K context affordable, essential on 16GB and 32GB machines.
2. Verify the settings actually reached the service
This check catches the number-one silent failure in local AI setups. Run:
ps eww $(pgrep -f "ollama serve") | tr ' ' '\n' | grep OLLAMA
You should see all five settings printed back (OLLAMA_KEEP_ALIVE=-1 and so on). If you see nothing, the service didn’t start; re-run the launchctl load line from 7.1 and check again.
3. Download your model
Substitute your tier’s model from section 6 if different. This downloads roughly 13-24GB, so give it time:
ollama pull qwen3.6:35b-a3b
4. Warm it up and confirm
Paste this block. The first command loads the model with a tiny test message (the first load takes up to a minute); the second shows its status:
curl -s http://127.0.0.1:11434/api/chat \

  -d '{"model":"qwen3.6:35b-a3b","messages":[{"role":"user","content":"hi"}],"stream":false}' > /dev/null

ollama ps
Read the ollama ps table. Three things must be true:
- UNTIL says
Forever(the model stays loaded; no cold-start delays). - CONTEXT says
65536. - PROCESSOR says
100% GPU.
If any of the three is wrong: All three failures share one root cause: the settings didn’t reach the service. Go back to 7.2. The most common culprit is the Ollama Mac app running at the same time; if you ever see its llama icon in the menu bar, quit it, delete it from /Applications, and re-run 7.1.
Install Hermes Agent
Still in your SSH session as agent.
1. Install
- Get the official one-line install command from the Hermes Agent documentation at https://hermes-agent.nousresearch.com (the Install page). It’s a single line starting with
curl; paste it into your SSH session and press Return. - When it finishes, confirm:
hermes --version
2. Run the setup wizard
hermes setup
- Create your Hermes login when prompted.
- When asked about the model provider, choose Custom (your local Ollama), and enter this endpoint when asked for a URL:
http://127.0.0.1:11434/v1
- Select your model (
qwen3.6:35b-a3b) and set the context length to65536if asked.
3. Two settings that make it feel dramatically faster
Hermes ships with two defaults that make a local model feel much slower than it is. Fix both now:
hermes config set streaming.enabled true
hermes config set agent.reasoning_effort low
- Streaming on means Telegram shows the answer as it’s being written, instead of total silence followed by a wall of text.
- Reasoning effort low stops the model from writing itself a long private essay before answering simple questions. (Don’t set it to “none”; a little deliberation keeps tool use reliable.)
Connect Telegram
Telegram is your remote control: message the agent from your phone, anywhere. Three pieces: create a bot, find your personal ID, connect both to Hermes.
1. Create your bot (on your phone)
- In Telegram, search for
@BotFather(the verified one) and open a chat. - Send it:
/newbot - It asks for a display name (anything, e.g. “My Agent”), then a username that must end in “bot” (e.g.
yourname_agent_bot). - BotFather replies with a token that looks like
123456789:ABCdefGhIJKlmNoPQRstuVWxyz. Copy it. Treat it like a password.
2. Find your personal Telegram ID
- Search for
@userinfobotand tap Start. It replies with your numeric ID, e.g.987654321. Copy that number.
3. Connect them to Hermes
- In your SSH session, run
hermes setupagain and choose the messaging/Telegram section of the wizard. When asked, paste the bot token from 9.1. - When asked which users are allowed, enter your numeric ID from 9.2. This allowlist is the security lock: without it, anyone who finds your bot can command your agent.
- Restart the Hermes gateway so it connects to Telegram:
hermes gateway restart
4. Test it
- Open your bot’s chat in Telegram and send:
hello - Wait for the reply. The very first message after a restart is the slowest (the session is initializing); give it a couple of minutes.
- Then ask:
What model are you using?— it should name your model.
Checkpoint: Your phone is talking to your Mac mini through your private network, through your local model, and back. If a friend messages the bot, it should ignore them completely; that’s the allowlist working.
One habit to learn now: /reset
Every message in a conversation stays in the agent’s working memory. After a long back-and-forth, that memory overflows and the agent must compress it before every reply, which makes even simple questions take minutes. When you switch topics or things feel slow, send /reset in the chat. It clears the session and speed comes right back.
Go Fully Headless
1. Final verification before unplugging
- From your controller, confirm SSH works (step 5.3).
- Confirm you can see the Mac mini’s screen remotely at least once. On a Mac controller: open Finder, press
⌘K, entervnc://YOUR-TAILSCALE-IP, press Return, and log in asagent. (On Windows, install any VNC viewer and connect to the same address.) If you’ll do this often, the $80 Apple Remote Desktop app handles switching between the two Mac accounts much better than free screen sharing, which can lock up on user switches. - Confirm Telegram answers you (step 9.4).
Do not skip the screen check: If remote screen viewing is broken and you’ve already unplugged, your only fix is plugging the monitor back in.
2. Unplug
- Unplug the HDMI cable from the monitor.
- Plug the HDMI dummy plug into the same port (https://amzn.to/44kJktw). It makes macOS believe a display is attached, which keeps remote screen viewing rendering properly.
- Unplug the keyboard and mouse.
- Leave power and Ethernet connected. That’s all it needs, forever.
3. Prove it survives a reboot
- From your SSH session, restart the machine:
sudo reboot
- Wait two minutes, then SSH back in from the controller.
- Warm the model again (the step 7.4 block) and confirm Forever / 65536 / 100% GPU.
- Send a Telegram message. When it answers, you have a genuinely autonomous machine.
Quick Reference: Safety Checklist and Common Problems
The checklist
- Agent account is Standard, never admin.
- Nothing is exposed to the internet; all remote access rides Tailscale.
- Telegram is locked to your personal ID.
- Remote Login and Screen Sharing were enabled BEFORE unplugging.
- Ollama runs as the launchd service you built, verified with the ps eww check.
When something goes wrong
- Every request takes minutes: almost always context size or a bloated session. Confirm
ollama psshows CONTEXT 65536, and send/resetin Telegram. - ollama ps shows a countdown instead of Forever: your settings aren’t reaching the service. Re-run the 7.2 check; if it’s empty, the Ollama Mac app is probably serving instead of your service. Delete the app and re-run 7.1.
- Silence, then a wall of text: streaming is off. Re-run the 8.3 commands and restart the gateway.
- Hermes refuses the model at startup: it enforces a 64K minimum context. Keep context at 65536, never lower.
- Homebrew says “not writable” from the agent account: expected; agent is a Standard user. Install software from your admin account instead, and never run the chown command Homebrew suggests.
- Can’t SSH in: check Tailscale is running and signed in on the controller, and Remote Login is still enabled on the Mac mini.
- Remote screen is black or the wrong size: the dummy plug isn’t seated, or isn’t installed.
What You Just Built
You now have a private, always-on AI agent you can message from anywhere, running on a silent box that uses about as much electricity as a lightbulb. No cloud costs, no subscriptions, and your data never leaves the house.
This setup isn’t just for Hermes. The foundation you built works for Claude Dispatch, OpenClaw, or any agent that needs an always-on service. The box is ready, the agent account is set up, and Tailscale is running. That’s the hard part done.
Part 2 in this series gives the headless Hermes Agent real tools to work with: sending and receiving email, searching the web, and reading pages, plus the prompting patterns that make a local model use those tools reliably. That’s where it goes from a chat toy to an assistant that does great things.
